Customer is defined as an entity that is invoiced for services rendered. Accounts are entities that own the item(s) to be delivered. A customer may have multiple accounts. For example: Fast Transporters Pte Ltd (VersaFleet user) delivers items to/from PetFood.com and A1 Supermarket (Accounts), on behalf of Food Logistics Pte Ltd (Customer).
It is mandatory to have customers ready in VersaFleet before creating any jobs or tasks, but it is not compulsory to create accounts. You may choose to create accounts if they are frequently used and you want to save the addresses under that account.
Creating Customers individually
- Go to Customers > Customers
- Hit + Add a Customer on the right
- Fill in basic customer information such as Customer's Name, Contact Person, Contact Number and Contact Email. You may also add the Logo of the company.
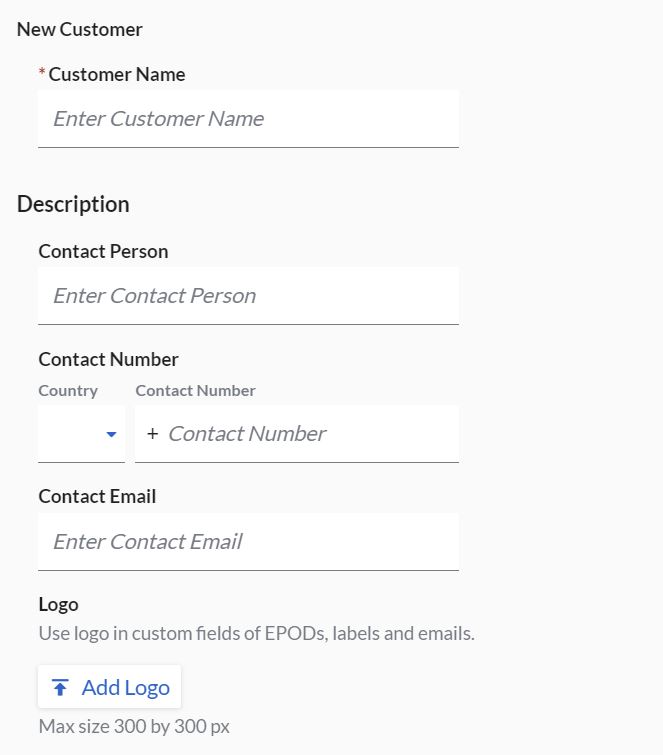
- Hit Save Customer to save the customer
Adding Customer's Available Hours
To set up the customer's available hours with times to avoid. Advanced Routing and Scheduler will respect these constraints.
- Select the customer for which you like to add the available hours.
- Hit Configurations.
- You may choose all days or by day and set the available hours and time range to avoid.

Creating Accounts individually
- Select the customer for which you would like to create accounts for
- Hit + Add Accounts to create an account

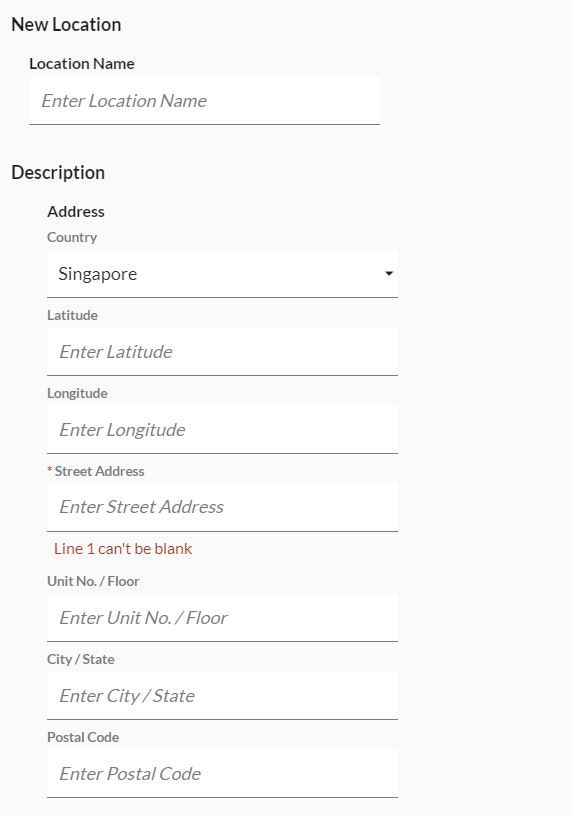
- Fill in the Account Name and hit + Add Location
- Fill in basic location information such as Location Name, Location Address, Contact Person, Contact Number and Contact Email.
- Hit Save Account to save the account.

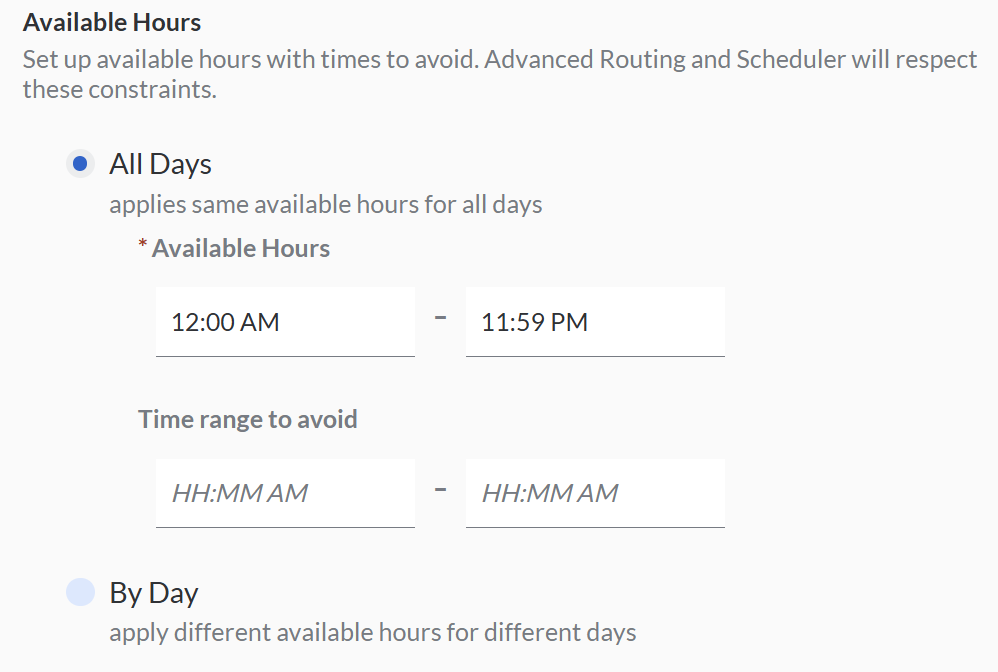
Adding Account's Available Hours
To set up the account's available hours with times to avoid. Advanced Routing and Scheduler will respect these constraints.
- Select the customer for which you like to add the available hours.
- Hit Service Requirements.
- You may choose all days or by day and set the available hours and time range to avoid.
Creating Customers through the Import function
- Go to Customers > Customers
- Select the Import Customers button on the right

- Click 'Download our template' to download the Customer Import Template and open the spreadsheet
- In the Customer Tab, fill in the information according to the fields in Rows 2 - 3. The example is shown in row 4 which you should delete before saving the file.
Fields with the asterisk (*) are compulsory - the file will be rejected if the compulsory fields are blank.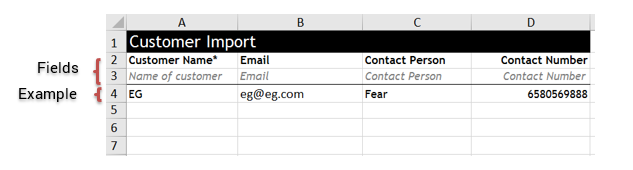
- In the Account tab, fill in the information according to the fields in Rows 2 - 3. The examples are shown in rows 4 - 10 which you should delete before saving the file
Fields with the asterisk (*) are compulsory - the file will be rejected if the compulsory fields are blank.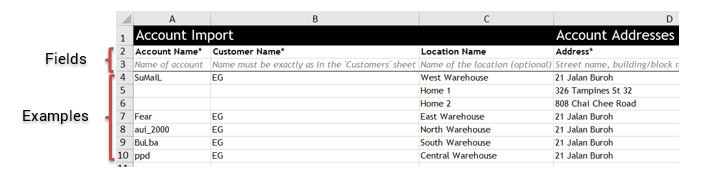 Note: For multiple addresses for an account, key in the addresses from columns C to M in separate rows (Re: Row 5 - 6 in the screenshot above). For standalone customers without accounts, you may fill up the Customers tab only, leaving the Accounts tab empty.
 - Save the file once you're done.
- Back to VersaFleet, click Attach a file to attach the file and select the spreadsheet.
- Click Import Customers and the information will be saved right into VersaFleet.
Creating Accounts through the Import function
To import a list of Accounts of an existing Customer in VersaFleet,
- In the Customer Import Template, leave the Customer tab blank.
- Fill up the Accounts tab, making sure that the Customer Name is exactly as in VersaFleet.
- Save and import the file.
Removing Customers
Customers can only be removed temporarily by archiving them.
To archive a Customer,
- Go to Customers > Customers
- Select the Customer you'd like to archive and click on the Archive button

Restoring Archived Customers
You can restore any archived Customers to bring them back into your active list of Customers.
To restore a Customer,
- From the menu at the top right, go to Archives > Customers
- Select the Customer you'd like to restore and click on the Unarchive button.