In this article, you'll learn how to add vehicles to your VersaFleet account and manage them.
Adding Vehicles individually
- Go to Fleet Management > Vehicles
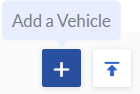
- Select + Add a Vehicle on the right to create a vehicle.
- Fill in the fields related to the vehicle.
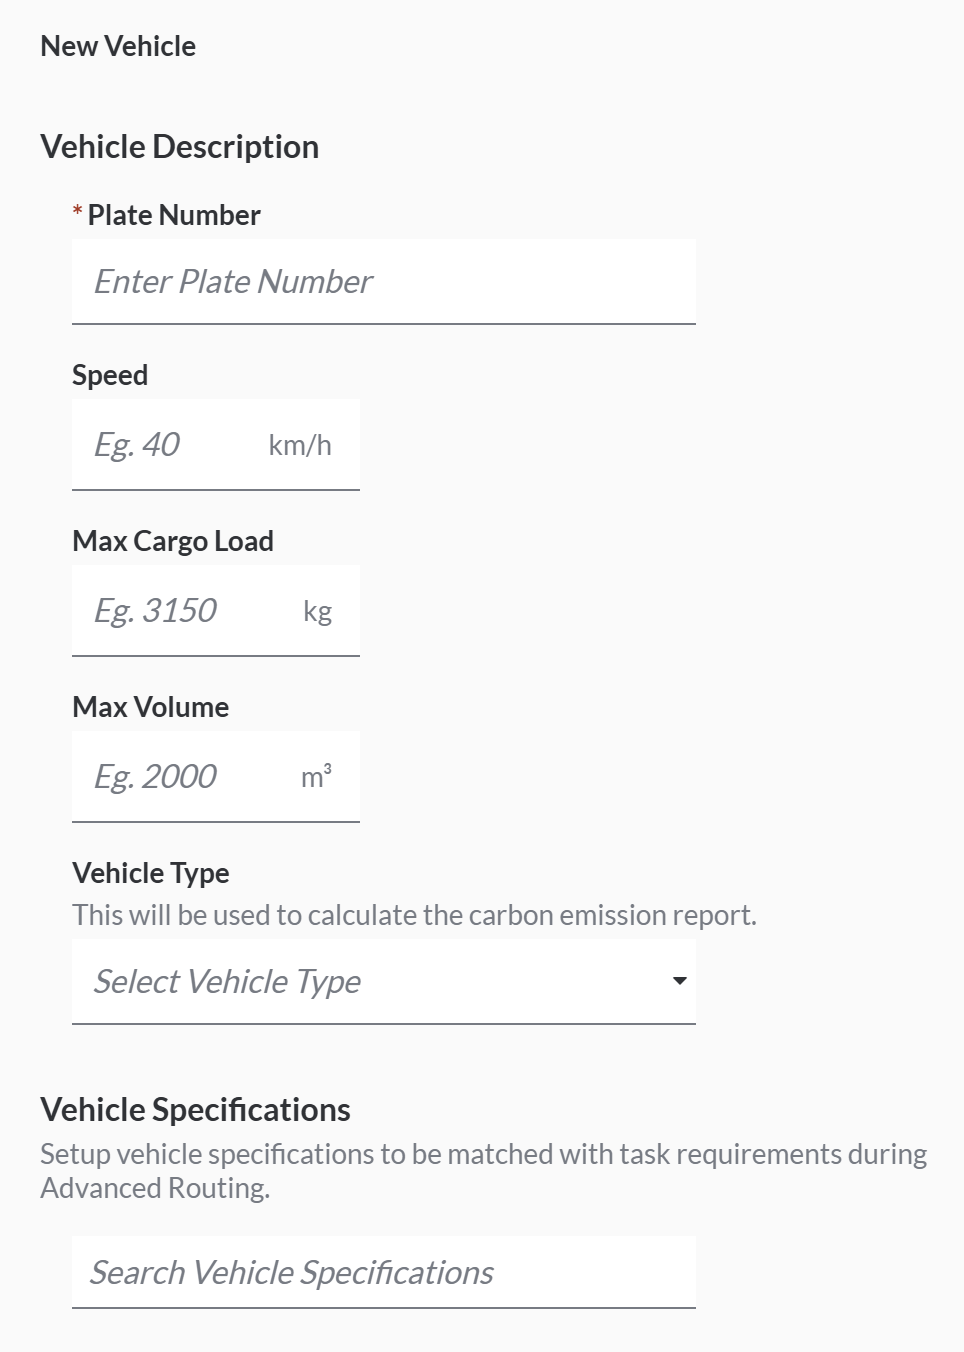
- Compulsory Field
- Plate Number
- Optional Fields
- Speed will be used as a parameter for Route Optimisation. Travel Duration betwen 2 points will be calculated by taking the distance divided by this speed. Note that the speed configured should be an average value that considers traffic conditions.
- Max Cargo Load and Max Voume will be used as constraints for Route Optimisation. The default units are kg and m³ respectively and they can be changed in Unit and Shipping Factor. The required capacity of the items within a task will be matched against the vehicle's maximum capacity to prevent overloading. Either one of them or both can be filled up.
- Vehicle Type will be used to generate the Carbon Emission Reports. There are a few categories: Diesel Van, Petrol Van, Electric Van, Light Truck, Medium Truck, Heavy Truck and Motorbike. If the vehicle type that you used is not in the list, contact us or use the 'Standard' option.
- Vehicle Specifications will be used as a parameter for Route Optimisation. The required trait of the task will be matched against the Vehicle Specification. There can be multiple Vehicle Specifications configured for each vehicle. Some examples of Vehicle Specifications are:
- Area: Jurong, Shah Alam
- Vehicle Size: Small, Medium
- Vehicle Type: Prime Mover, 3 Ton
- Outlet Type: Modern Trade, General Trade
- Compulsory Field
- Hit Save Vehicle to create the vehicle.
Adding Vehicles through the Import function
- Go to Fleet Management > Vehicles
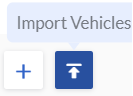
- Select the Import Vehicles button on the right.
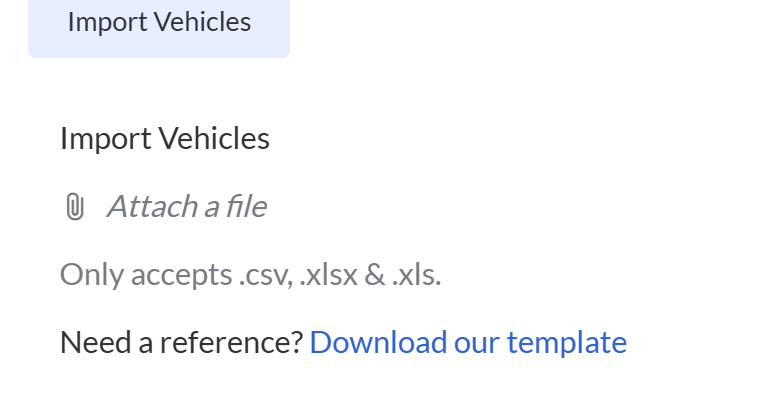
- Download the Vehicle Import Template and open the spreadsheet.
 Fill in Vehicle information according to the fields in Rows 2 -3.
The example is shown in row 4 which you should delete before saving the file.
Plate Number is compulsory – the file will be rejected if the compulsory fields are blank. Save the file once you're done.
 - Back to VersaFleet, attach the Vehicle Import Template.
Click Import Vehicles and the information will be saved right into VersaFleet.
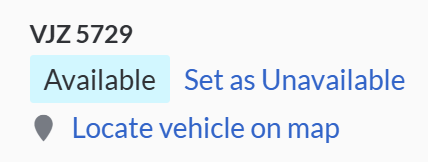
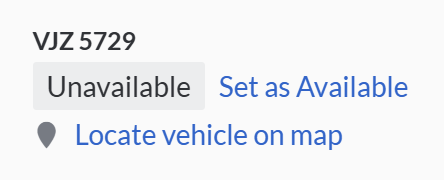
Vehicle Availability
If a vehicle is temporarily not available as it is under repair or maintenance, you can set the vehicle as 'Unavailable'.
- Go to Fleet Management > Vehicles
- Click into the vehicle and click Set as Unavailable so that the status is 'Unavailable'.
- When the vehicle is available, click Set as Available so that the status is 'Available'.
Removing Vehicles
Vehicles can only be removed temporarily by archiving them.
To archive a Vehicle,
- Go to Fleet Management > Vehicles
- Select the Vehicle you'd like to archive and click on the Archive button.

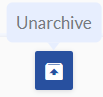
Restoring Archived Vehicles
You can restore any archived Vehicles to bring them back into your active list of Vehicles.
To restore a Vehicle,
- From the menu at the top right, select Archives > Vehicles
- Select the Vehicle you would like to restore and click on the Unarchive button.
Next Steps
Once you have your vehicles ready in VersaFleet, start creating your Drivers to pair them up with the vehicles.