MyJobs (VersaFleet Demand) is a platform for shippers to send jobs directly to their Transporter (using VersaFleet) and to have real-time visibility over the job progress.
This article is meant for VersaFleet users to learn about MyJobs and to set up MyJobs accounts for their customers.
With MyJobs, the customer is able to:
- Receive real-time notifications of the job statuses
- Monitor statuses of ongoing jobs
- Generate monthly reports and job transaction history
Creating a MyJobs account
Before creating a MyJobs account for your customer, do ensure that the customer has been created in VersaFleet.
To create a MyJobs account for your customer,
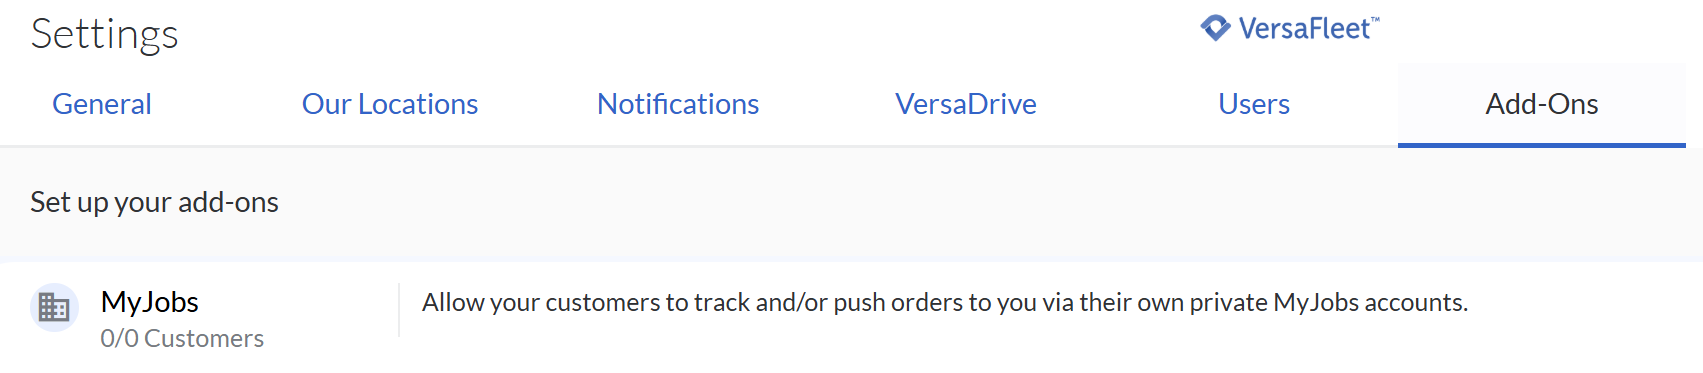
- Go to Settings > Add-Ons
- Choose MyJobs
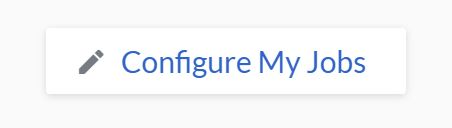
- Click into the customer to create the account and hit Configure My Jobs on the right.
Hit Enable My Jobs to activate the account.
Click Add New Login to create the Username and Password for the MyJobs account.
*Note: Passwords must be a minimum of 10 characters long and contain at least one uppercase and one lowercase letter (A,z), one numeric character (0-9), and one special character (such as !, %,@, or #).- MyJobs account allow to have up to 5 users login. To add more credential, click Add New Login.

- Click Save Configuration to save the login credentials or continue configuring the MyJobs account in the next section.
Configuring a MyJobs account
The configurations for MyJobs can be adjusted based on your needs.
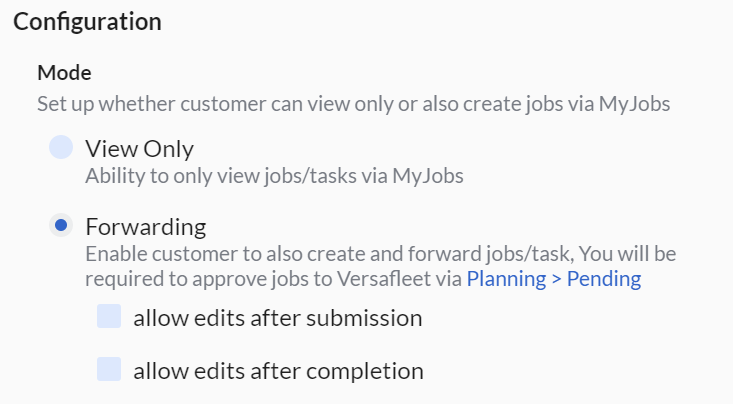
Mode
Choose if the MyJobs user can only view jobs (View Only) or create jobs (Forwarding).
For View Only, the user will not be able to create any jobs. Share the Viewing Jobs as MyJobs users article with your customer for a quick guide on the functionalities.
For Forwarding, you'll have the option to choose if you allow the MyJobs user to edit the job/task after submission or after completion. Share the Forwarding Jobs as MyJobs users article with your customer for a quick guide on the functionalities.
Visibility of statuses
Select how detailed the task status will be shown in the MyJobs account.
To learn the difference between Basic and Advanced, refer to Definition of Task Statuses.

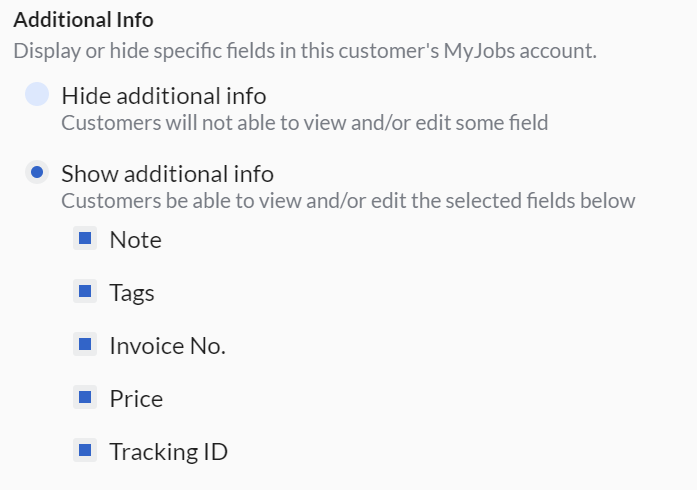
Additional Info
Choose to display or hide task fields in the MyJobs account. This will determine if the task field is shown to the MyJobs user during task creation and when viewing the task.
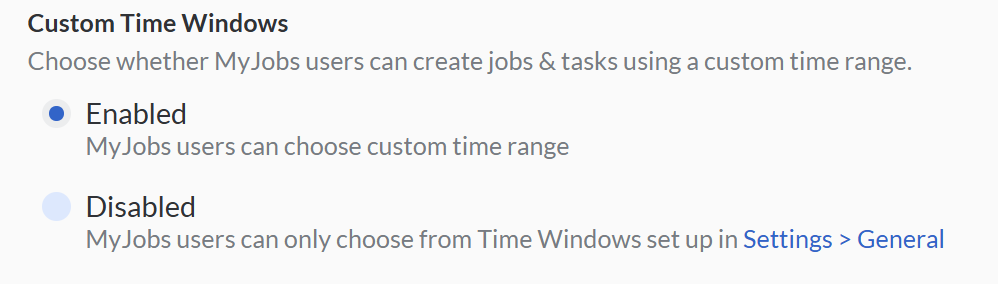
Custom Time Windows
Choose whether MyJobs users can create jobs & tasks using a custom time range.
Guiding a MyJobs user to login
Once the MyJobs account is all set, you're ready to share the account details with the MyJobs user. You can share the MyJobs account credentials by sending them the following details:
URL: https://jobs.versafleet.co/ (Recommended to use Chrome)
Username: smartexpress/ABCDEnterprise
Password: Password@1
*Note: The username consists of two parts - the name of the company (domain) which has invited you and your company name, such as smartexpress/yourcompany.
Job and Task Statuses
Definition of Job Statuses
The following diagram illustrates the Job status flow for both MyJobs and VersaFleet.
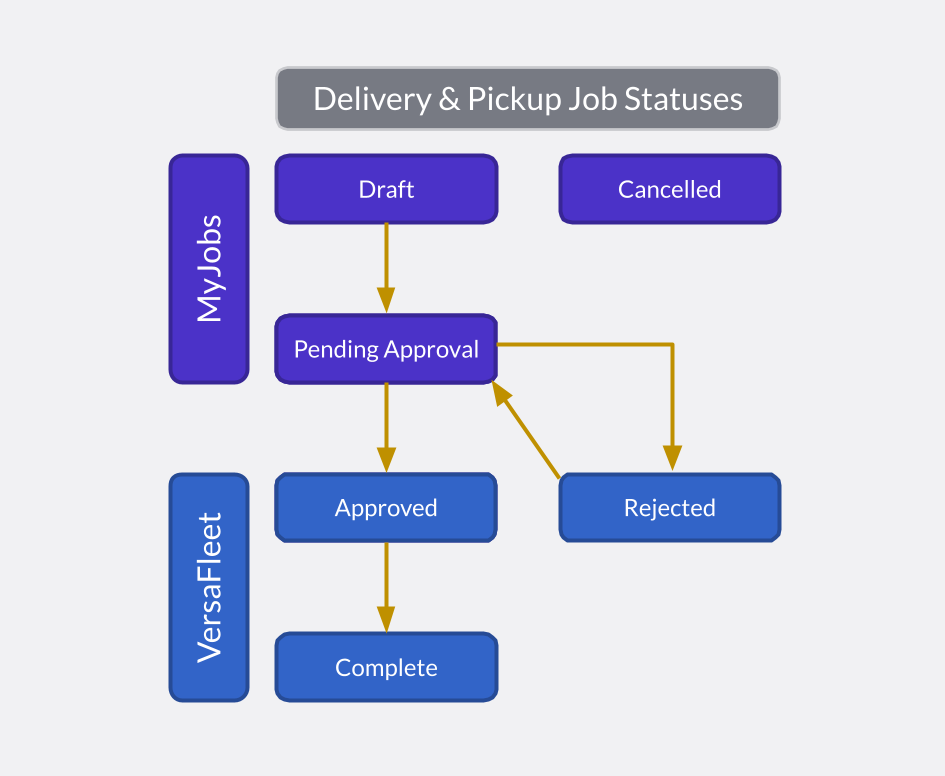
| Job Status | Description | Triggered by | Triggered in |
| Draft |
|
| MyJobs |
| Pending Approval |
|
| MyJobs |
| Approved | When the job is approved by the VersaFleet user | When the VersaFleet user approves the job | VersaFleet |
| Rejected | When the job is rejected by the VersaFleet user | When the VersaFleet user disapproves the job | VersaFleet |
| Complete | When the job is complete | When all of the tasks within the job has been completed | VersaFleet |
| Cancelled | When the job is cancelled | When the user cancels the job | MyJobs |
Definition of Task Statuses
The 'Advanced' statuses follow the same as in VersaFleet's Task statuses.
Here's a comparison of the task statuses shown in MyJobs for Basic and Advanced.
| Task Status in VersaFleet | Task Status in MyJobs for 'Basic' | Task Status in MyJobs for ‘Advanced’ |
| Unassigned | In Progress | Unassigned |
| Assigned | Ongoing | Assigned |
| Acknowledged | Ongoing | Acknowledged |
| Collected | Ongoing | Collected |
| Started | Ongoing | Started |
| Arrived | Ongoing | Arrived |
| Complete (Successful) | Complete | Complete |
| Incomplete (Failed) | Ongoing | Incomplete |
| Cancelled | Cancelled | Cancelled |
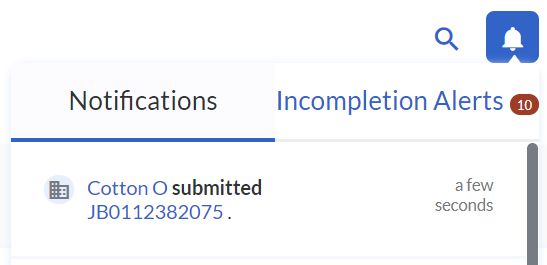
Receiving in-app notifications on Job Submissions
When a Job is submitted from MyJobs to your VersaFleet account, there will be a notification from the notifications bell at the top-right. Click on the notification of the Job to view the details.
Receiving Email or SMS notifications on Job Submissions
To receive email notifications on Job Submissions,
- Go to Settings > Notifications > Job Email Triggers or Job SMS Triggers
- Click + New Template
- For Job Submission, select Submitted under 'Status'
- For Email Template or SMS Template, use the Mergetags to customise the message.
For more information on configuring the notifications, see Email Triggers or SMS Triggers.
Approving or Rejecting Job
To approve or reject the Job,
- Click on the in-app notification when you received it, or go to Planning > Pending > Jobs view and click on the Job on the correct date.
- Click Approve to approve the Job or Reject to reject the Job.

- If the Job is approved, it will be moved to Planning > Map or Tasks for driver assignment.
- When rejecting the Job, include a reason for rejection. If the Job is rejected, it will be transferred back to MyJobs.

Viewing Attachments and e-PODTo allow the customer to view attachments of a task on MyJobs,
-
Last updated: more than two weeks ago