There are 2 ways to create Jobs in VersaFleet Demand to be submitted to VersaFleet - by creating individually and by importing.
Creating Jobs individually
- In either the Submissions or In Progress tab, hit + Add a Job on the right to create a new job.

- Select the Job Type
- If Delivery is selected as the Job Type, on the next page, fill up the information for the Job Pickup
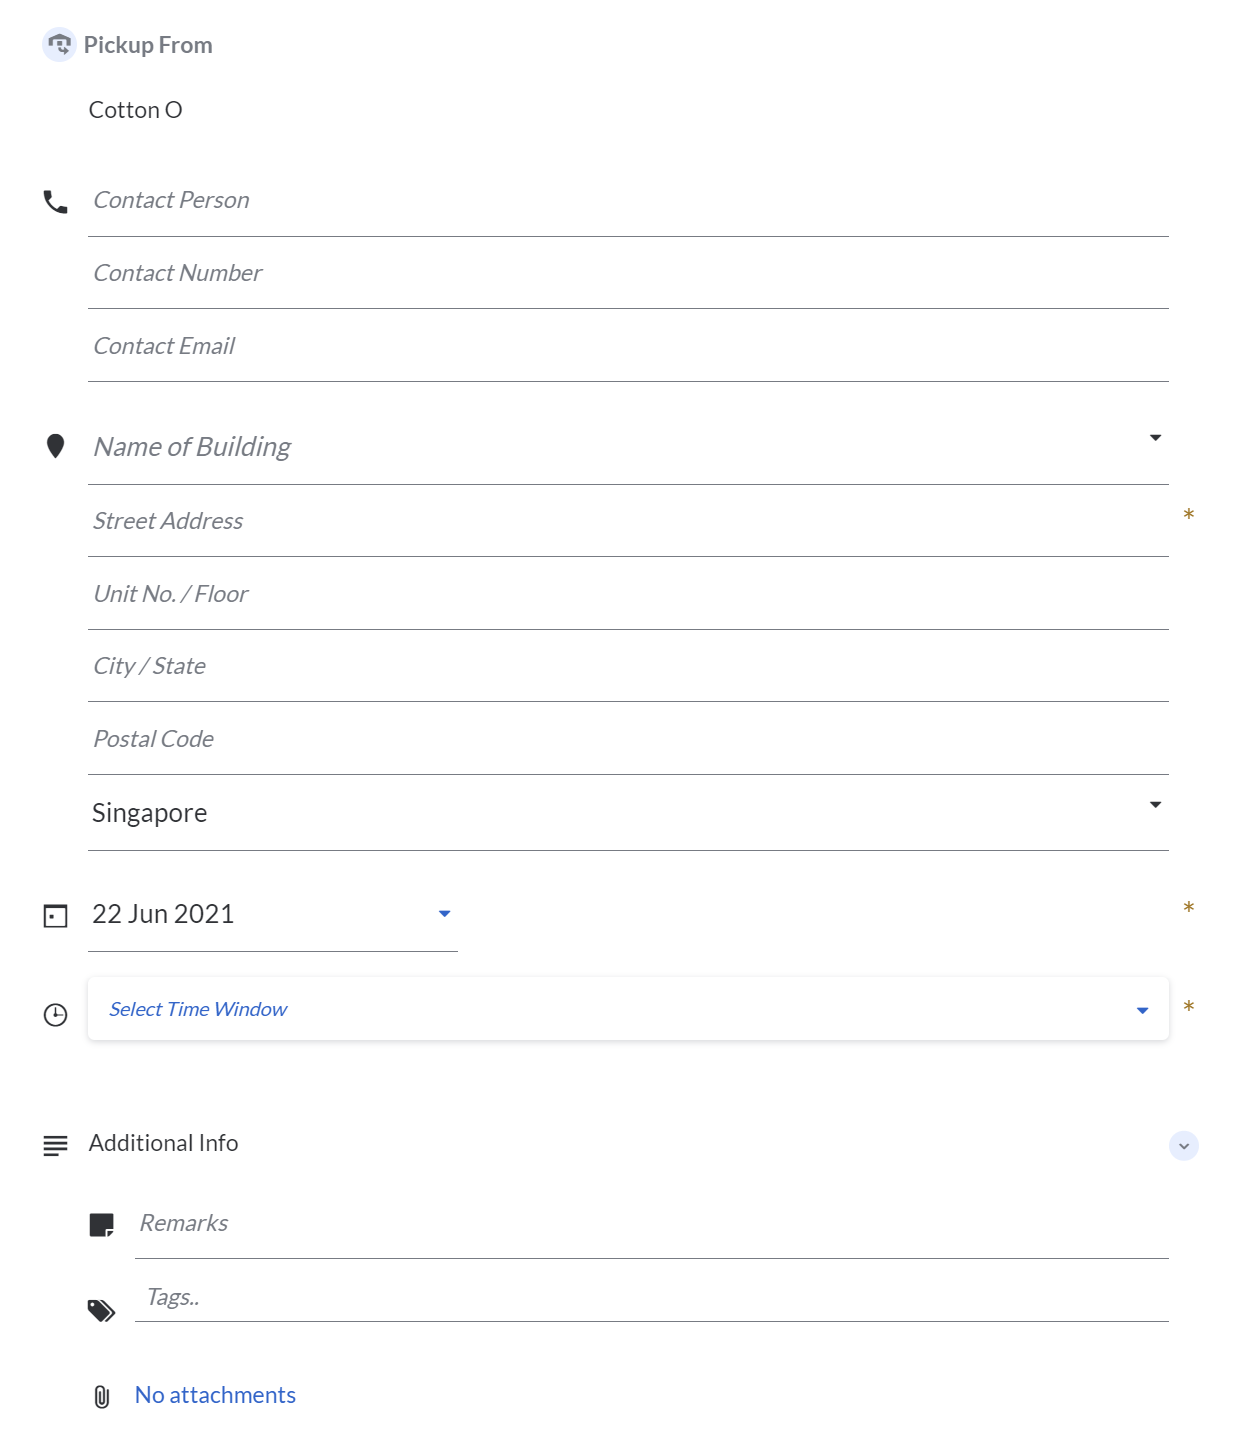 The compulsory fields are:
 - Street Address: Choose from a drop-down list or add an address.
- Date: Choose the date.
- Time: Choose the time or define a custom time range.
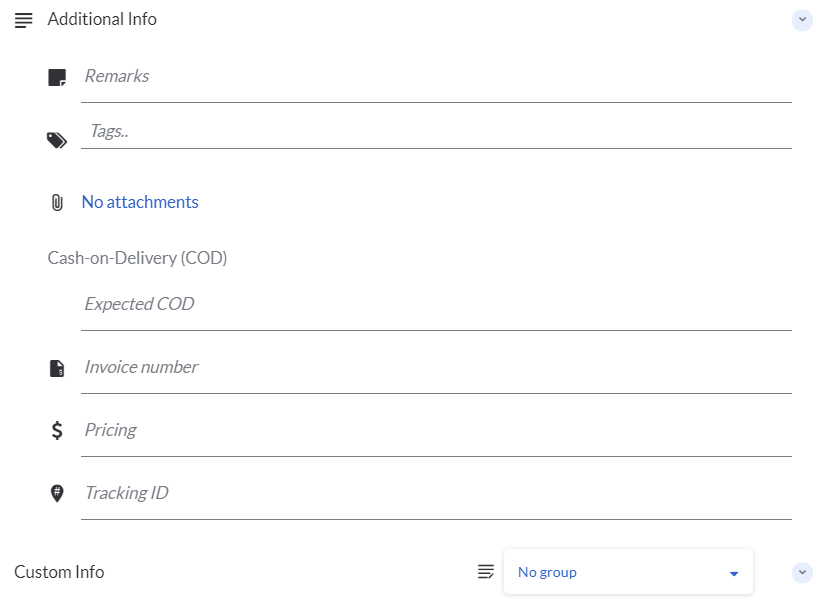
- Remarks
- Tags
- Attachments: Any document related to helping trace the task.
- Hit + Add a Task to add the task.
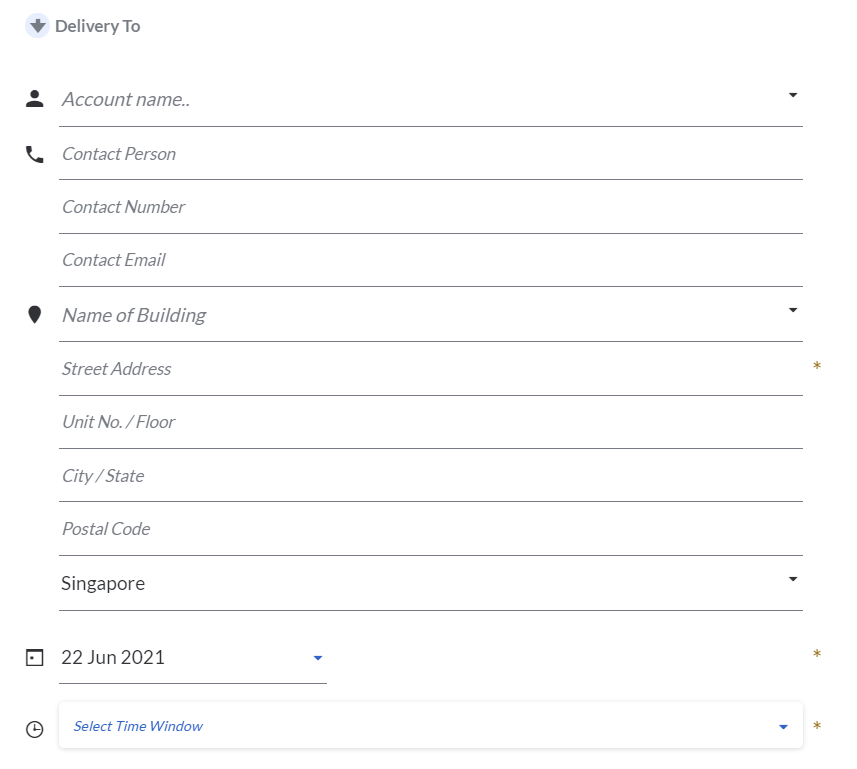
- Fill up information for the Delivery Task
- Street Address: Choose from a drop-down list or add a new address
- Date: Choose the date. Recommended to choose the same date as the pickup
- Time: Choose the time or define a custom time range.
- Remarks: Instructions for the delivery
- Tags
- Attachment: Any document related to helping trace the task.
- Cash-on-Delivery: Any cash to be collected by the driverupon delivery
- Invoice Number: This is not restricted to just invoice number; you may choose to use this field to key in the delivery order number or sales order number.
- Pricing: Cost of the task
- Tracking ID: This is useful if you would like to customise your own Tracking ID for your customers to track this task on their own. Each Tracking ID should at least be 12 alphanumeric characters. Spaces and all special characters (with the exception of ( ) - { }) are not allowed.
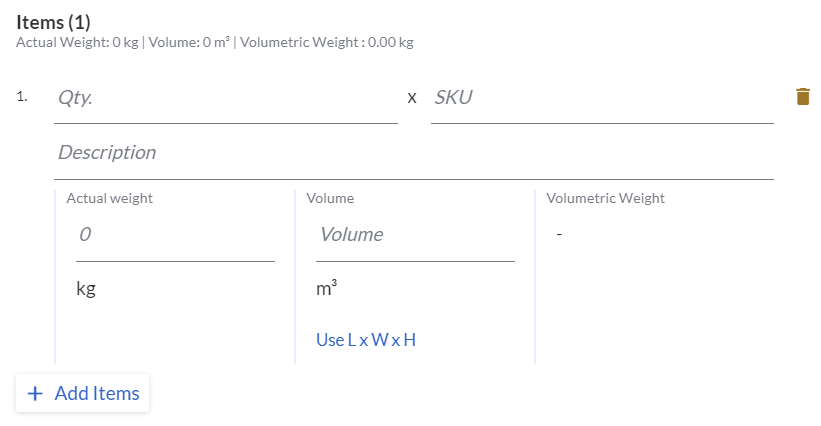
- Hit + Add Items to add items to this task.
- Key in Qty, Item and Description, as well as the dimensions.
- Once you’re done, hit Save Task to save the task.
- Hit Save Job to save the job.

If you have selected Delivery or Point-to-Point as the Job Type, the information to be keyed on the next page will be for the Base Task - Single Pickup.
If you have selected Pickup as the Job Type, the information to be keyed on the next page will be for the Base Task - Single Delivery.
To better track and trace back this task, you may include:

 Deliver to / Pickup from – this will be the information for the Task.
The compulsory fields are:
To better track and trace back this task, you may include the invoice number and tracking ID.
*Note: the section on Additional Info, will be set up by the VersaFleet user. The field might be different from your section depending on the set-up.


The status will be changed to Draft.
Creating Jobs through the Import function
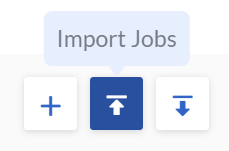
- Click Import Jobs on the right
- Download the Import Jobs Template and open the "Import_Myjobs_Jobs" spreadsheet.
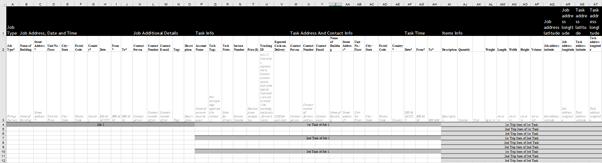
- In the first 'Jobs' tab, fill in Job information according to the fields in Row 2. The examples are shown in rows 4-12 which you should delete before saving the file. Fields with the asterisk (*) are compulsory – the file will be rejected if there’s a blank in the compulsory field.
- Save the file once you’re done.
- Back to MyJobs, Attach a file and select the "Import_Myjobs_Jobs" spreadsheet. Click Import Jobs and the information will be saved right into MyJobs.
- Multiple Tasks and Items
- To create multiple tasks under a single job, you have to leave Columns A - O blank and fill up Columns P to AH in the subsequent rows.
- To create multiple items under a single task, you have to leave Columns P to AH blank and fill up Columns AI to AT in the subsequent rows.
- Your Job Import template should roughly look like this:

- To create multiple tasks under a single job, you have to leave Columns A - O blank and fill up Columns P to AH in the subsequent rows.
- Postal codes that start with a '0'
- Some postal codes may start with '0' and it may not appear when the task is created. To ensure that the '0' is there, add an apostrophe (') before the postal code. This forces the numbers to be treated as text by Excel.
- Hit Import Jobs to import the jobs.


Note: For the Date & Time format (DD/MM/YYY HH:MM), time is in 24-hour format.
Tips for importing jobs